🏁 Quick Start
This page will help you get started with OpticCount in just a few minutes. Even if this is your first time, you'll find the process simple, fast, and intuitive.
🔑 Login & Registration
Registering a New Business
- Go to: https://opticcount.web.app.
- Choose "Register New Business".
- Fill in the details:
- Phone number (format: 05XXXXXXXX).
- Full name of the business owner.
- Business name (shown to users and employees).
- A strong password (at least 8 characters in English, one uppercase letter and a number).
- You can also sign up quickly using a Google account.
- Click "Sign Up & Login" – and that's it, your new account is created!
⚡ Important to know:
- Each main account (manager) can add more employees later.
- You cannot create two accounts with the same phone number.
Logging into an Existing Account
If you have registered before:
- Enter your phone number and password.
- Click "Login" and you'll go directly to the Main Menu.
Forgot Password?
- Click "Forgot Password".
- Enter your phone number.
- Receive a verification code and set a new password.
🧾 First Count
After logging in successfully, you're ready to start counting inventory!
Selecting a Store
- If your business has only one store – the system will jump directly to the count page.
- If you have multiple stores – a dialog will appear to select which store to count in.
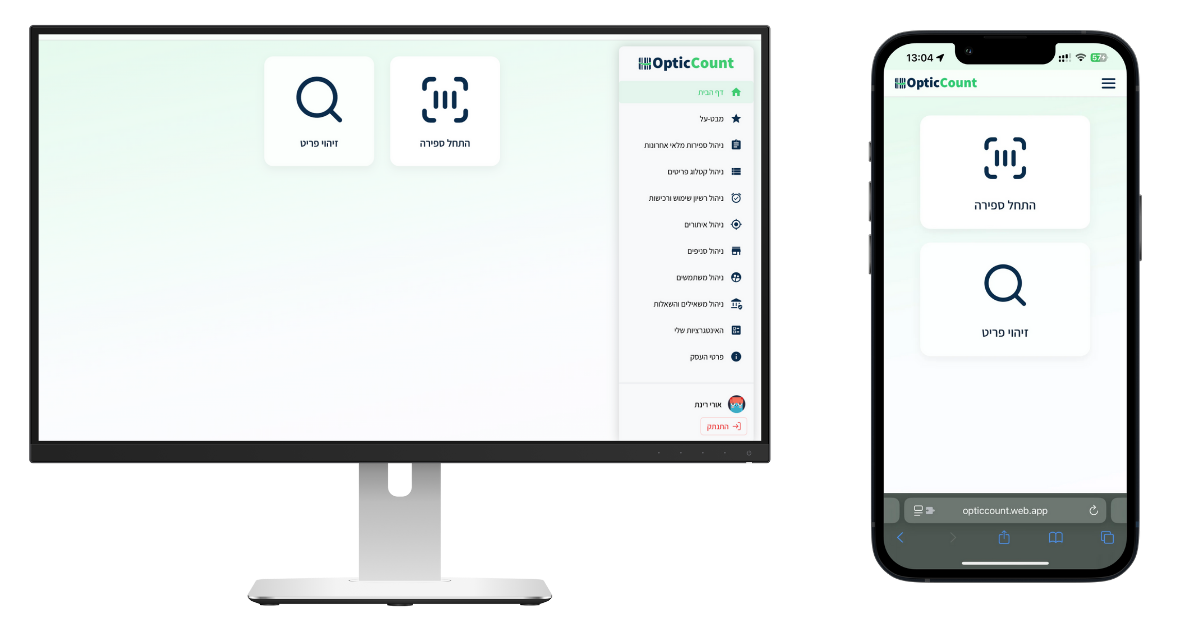
How to Count
- Click "Start Count" on the Main Menu.
- Scan items using:
- 📷 Smartphone camera.
- 📡 Wireless barcode scanner (connects easily via Bluetooth).
- ✍️ Manual entry of item code or product name.
- Each item counted appears immediately in the list, with all its details.
- If the same item is counted again – the quantity updates automatically, without creating duplicates.
- You can edit quantities manually, delete mistakenly added items, or continue scanning normally.
Finishing a Count
- When you're done, the data is saved automatically to the cloud.
- Reports can be generated at any time (Excel, ERP, and more).
🆕 Onboarding Checklist – For New Users
The first time you enter the system, a floating button (FAB) will appear in the corner of the screen, leading to a guided steps checklist:
- Upload Item Catalog – Import your items.
- Create a Store – Set up the first store.
- Add a User – Create an employee account.
- Add a Location – Define a warehouse location.
- First Scan – Count the first item.
- Scan Unknown Item – Try an item that is not in the catalog.
- Edit a Count – Change the quantity of a counted item.
- Download Summary – Export the first summary file.
- View Overview – Check the dashboard.
- Ask the Chatbot – Use the built-in AI assistant.
When all steps are completed, a confetti animation and celebration appear 🎉
The checklist can be closed and minimized at any time. It will close automatically after all steps are completed.
🌐 Language Selection
The system is available in 4 languages: Hebrew, English, Arabic, and Russian.
- Click on your username in the top corner.
- Choose a language from the dropdown.
- The interface reloads in the selected language, including automatic RTL/LTR direction.
✅ Tips for a Smooth Start
- It is recommended to start with a small count (one shelf or one box) to get familiar with the system.
- If multiple people work in parallel – each person sees only their own counts, so there is no data overwriting.
- Even without internet – the system saves data locally and will sync automatically when the connection returns.
✨ Summary
In less than 5 minutes you can log in, select a store, and start your first count with OpticCount. The process is simple, fast, and ensures you can manage inventory efficiently and accurately – without expensive equipment and without headaches.